
Drupal and Siteimprove Session
Contact webrequest to schedule a meeting
AODA Training
If you or your department/group would like to schedule an AODA training session please contact access@trentu.ca or extension 6602.
INDEX
These instructions apply to all Trent subsides.
For more specific documentation on additional features for the IT and Future Students websites, please see the separate user guides.
- Administrative Interface
- Content Management Overview
- Adding Images
- Formatting Images
- Adding Web Banners
- Adding Youtube Videos
- How to Link Anchor Text
- How to add a PDF to your page
- Adding Images
- Specific Content Types
- How to Create a New Page
Administrative Interface
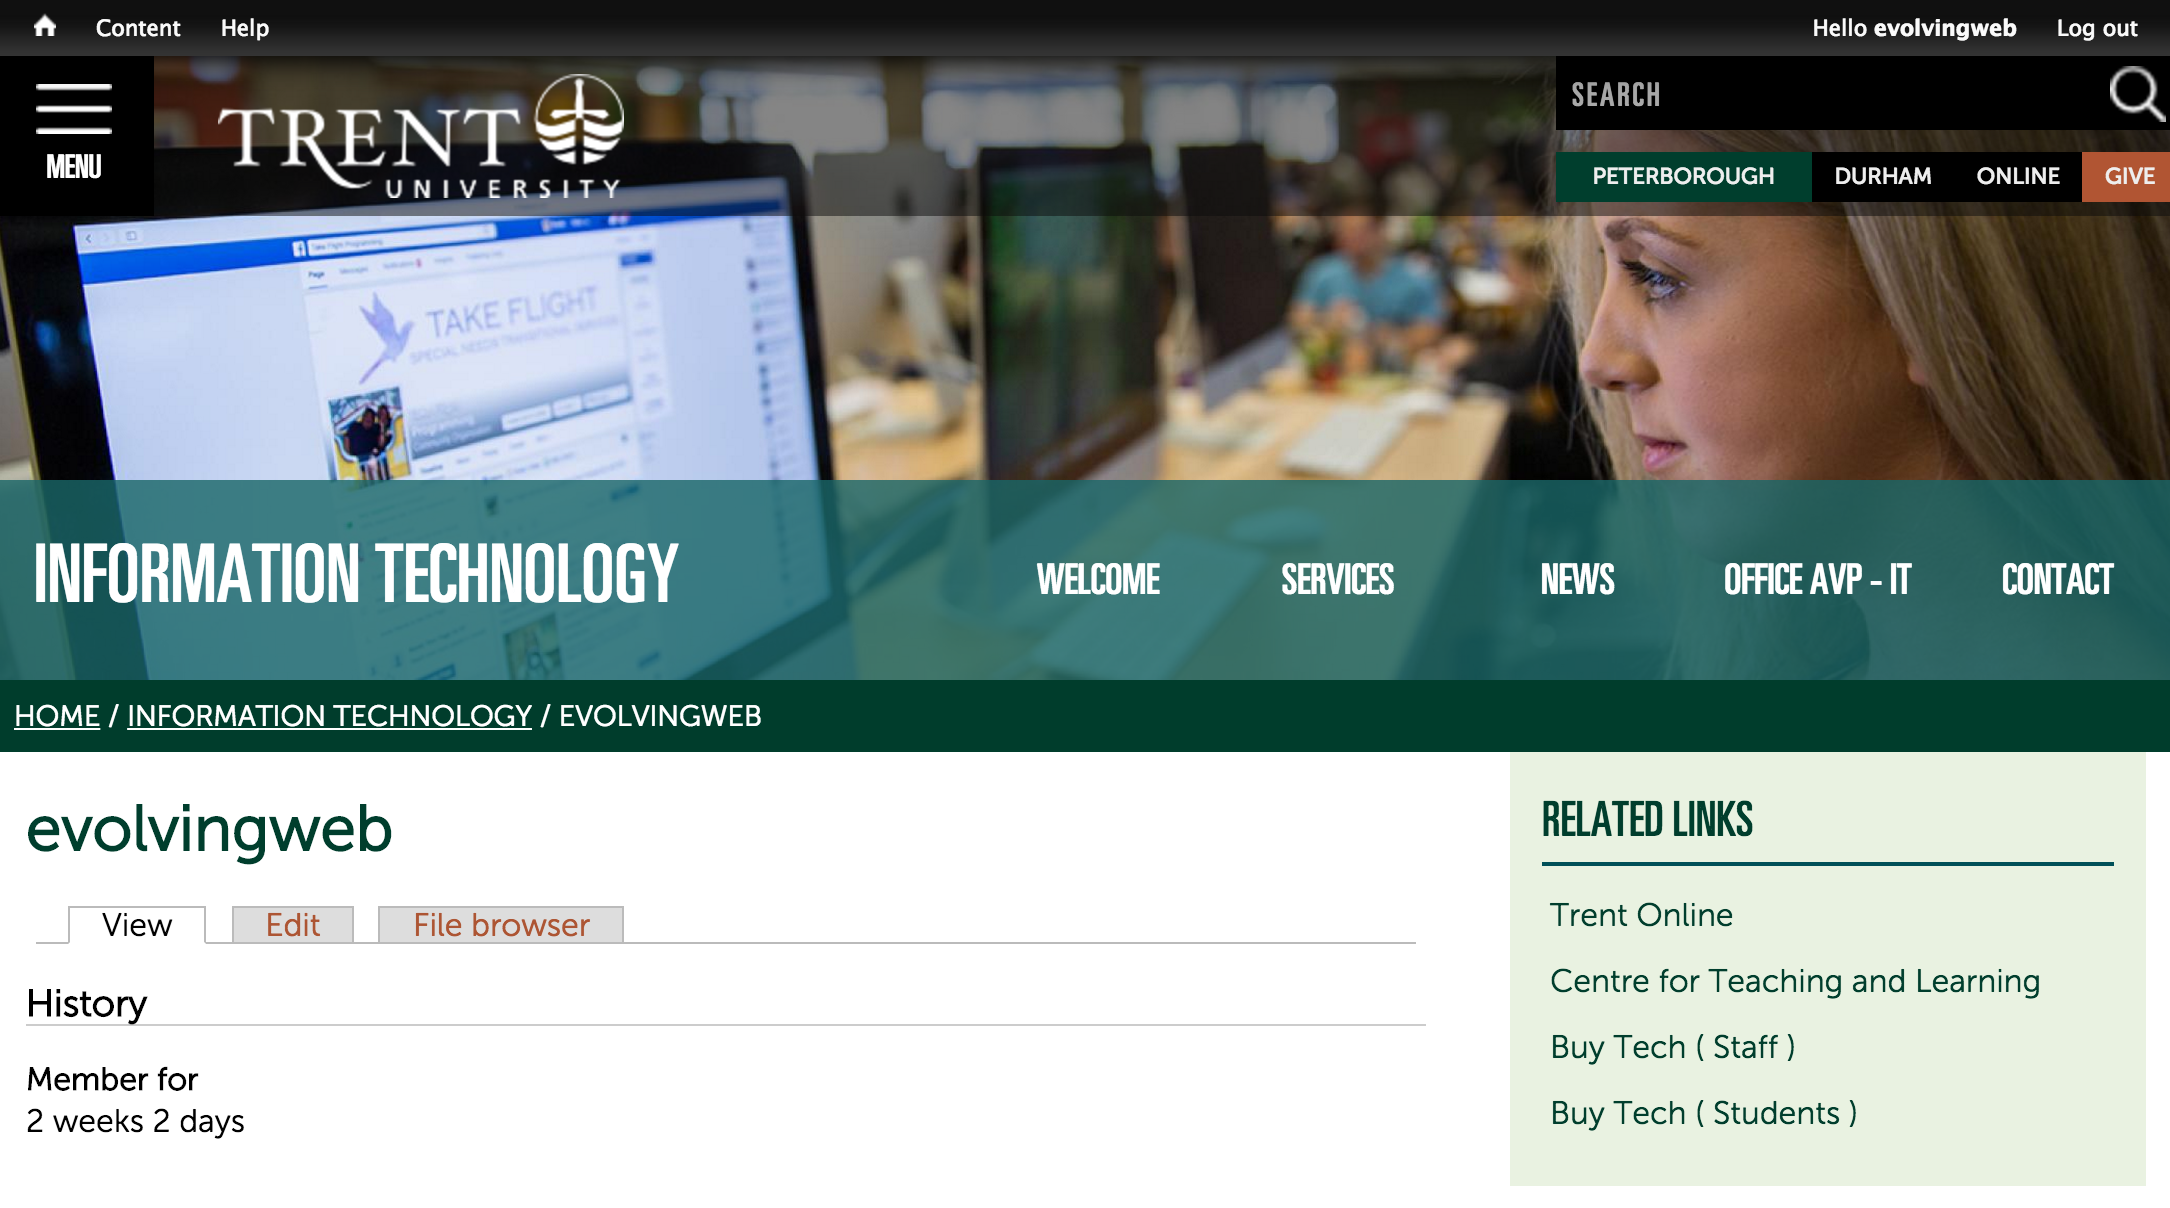
Logging In
- Access the login page by add /user to the URL of the website that you’re editing. For example, https://trentu.ca/it/user

- Enter your username and password.
- Click Log in.
- If the login is successful, you’ll be taken to your account page.
- You’ll see the black Admin Toolbar appearing at the top of the page. This is always visible when you’re logged in and gives you access to all administrative links.
Admin Interface
- When you’re logged into the website, you will have access to the Admin Toolbar at the top of each page (whether you’re viewing the administration pages or the public-facing website).
- You’ll also have access to edit content using the Edit tab visible on each page of content on the website.
- If you do not see an Edit tab on a certain page, it could be because you don’t have the right type of account to edit the page, or because it’s not an editable page, it just aggregates other content from around the site.
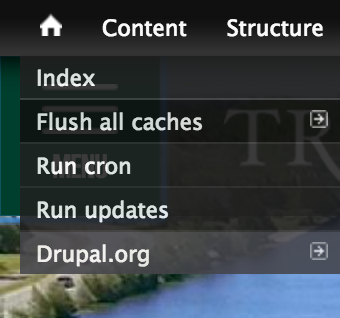
Flushing the Cache
If you've made an update to the website and the change doesn't appear as expected, you may need to Flush the cache. This has the effect of ensuring that changes you've made are reflected when the user visits the website. To flush the cache, hover over the House icon in the Admin Toolbar and click Flush all caches.
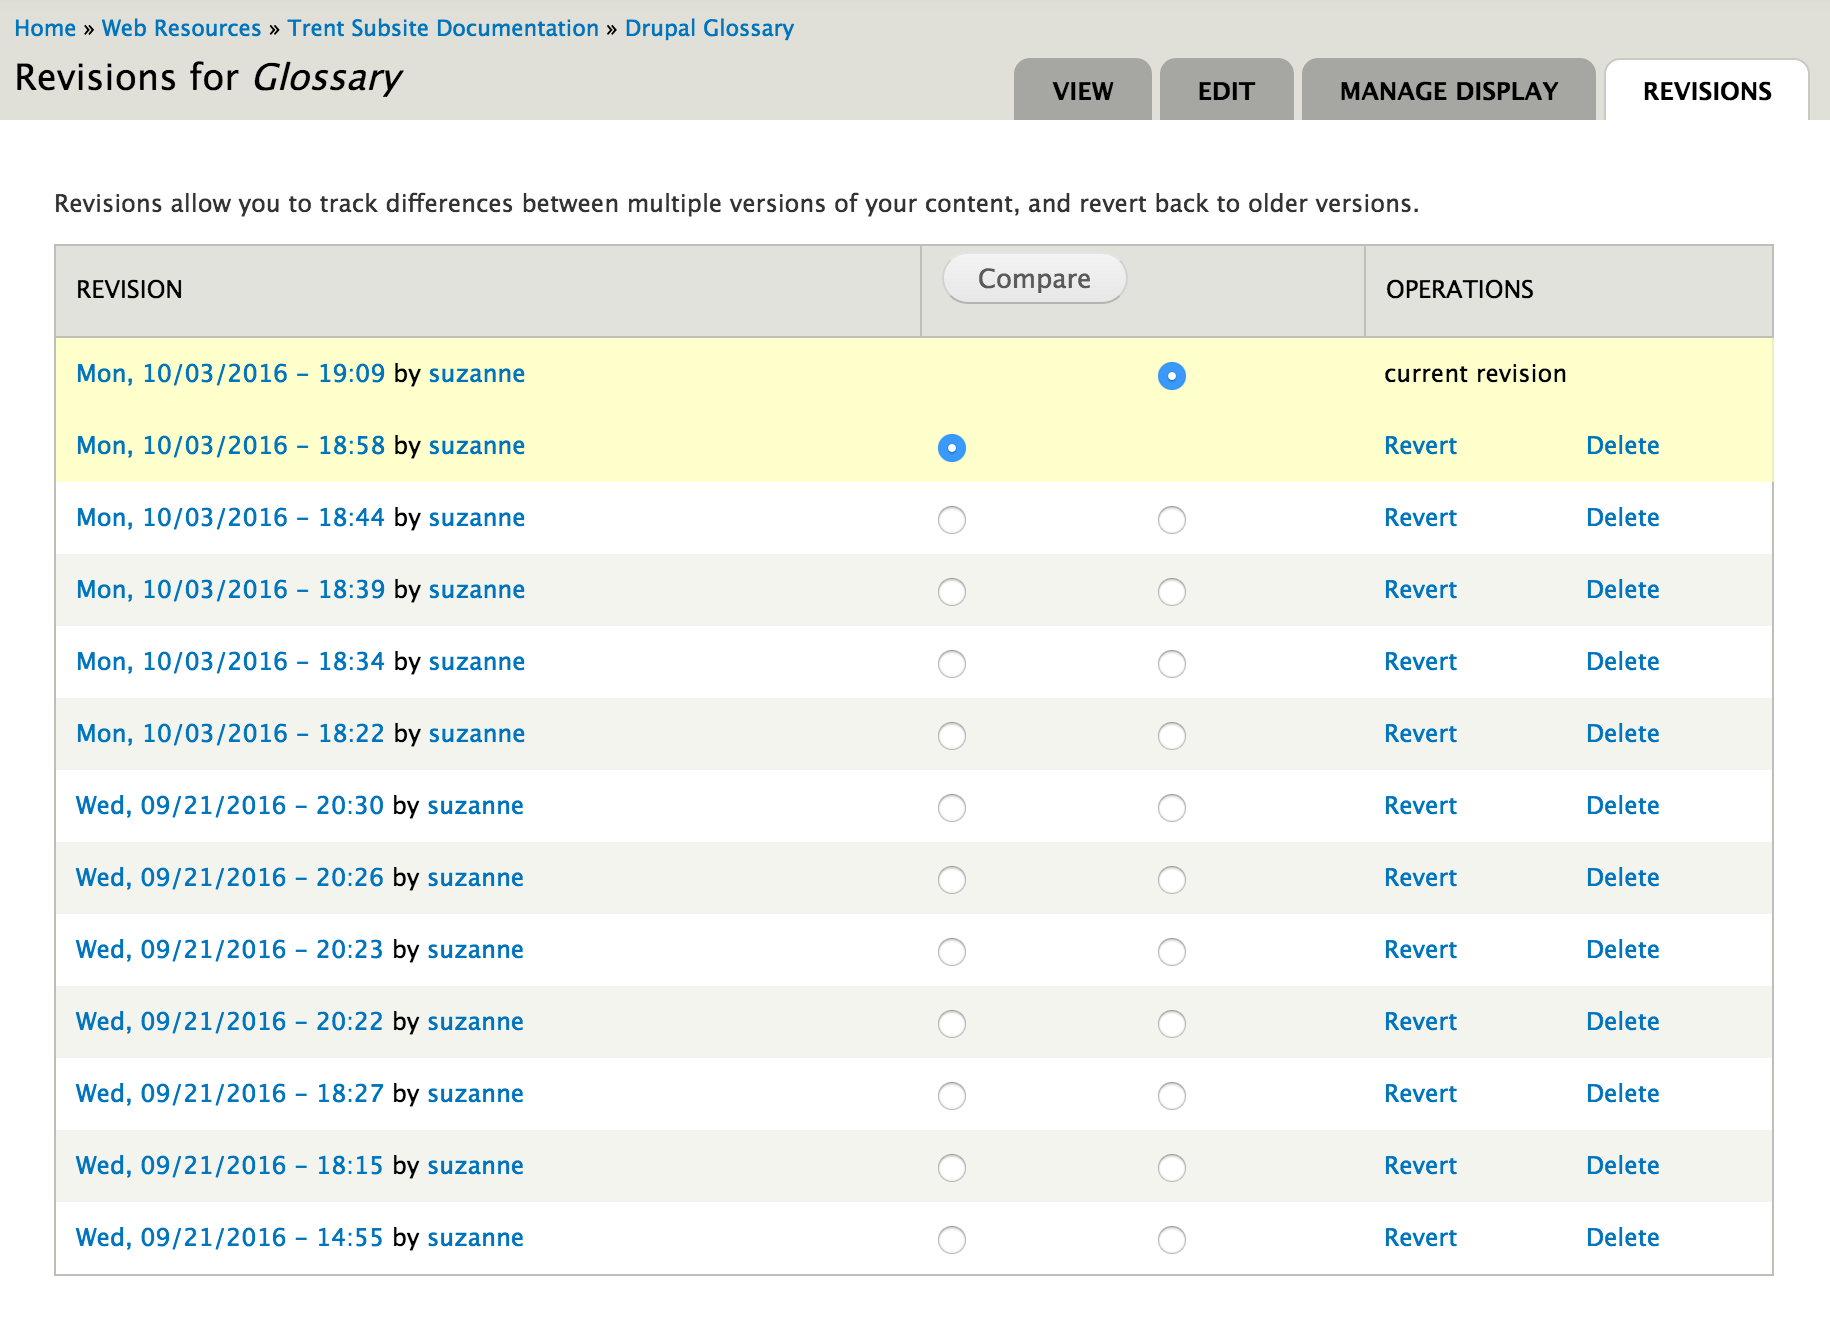
Content Revisions
If you make a change to a piece of content and decide that you want to go back to a previous version of the content, you can use the revisions tab.
- Next to the Edit tab, click Revisions.
- This will show you a list of each version of the content (one for each time the content has been saved - see image below).
- Select two versions and click Compare to see the changes.
- Click Revert next to a version to undo any changes since that version was created.
How to add YouTube Video
Content Management Overview
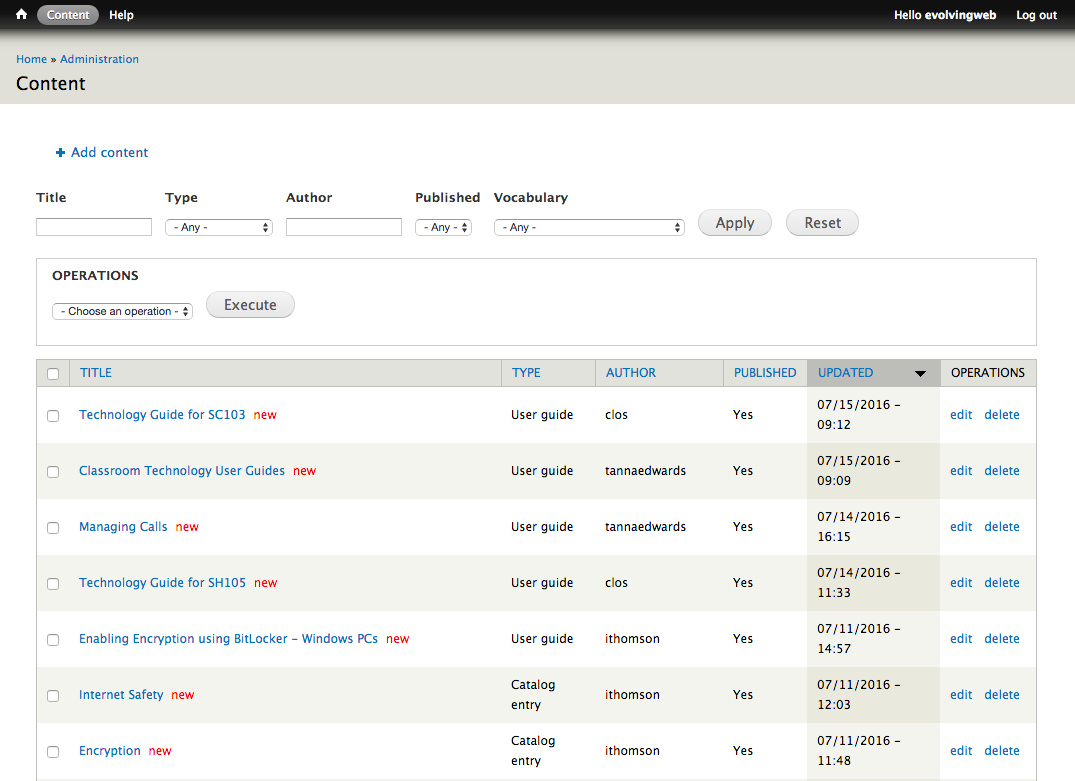
Finding Content
- In the Admin Toolbar, click on the Content link to access the content overview page.
- This will show you the list of all the content on the website.
- To find content, search for content by selecting a Type or enter the name of the content into the Title field. Click Apply.
- If you know the username of the person who wrote the content, you can search for it using the Author field.
- You can also use the Published field to find content that is published or unpublished (typically, unpublished content will not appear on the public-facing website).
- To remove the search filters and see all the content, click Reset.
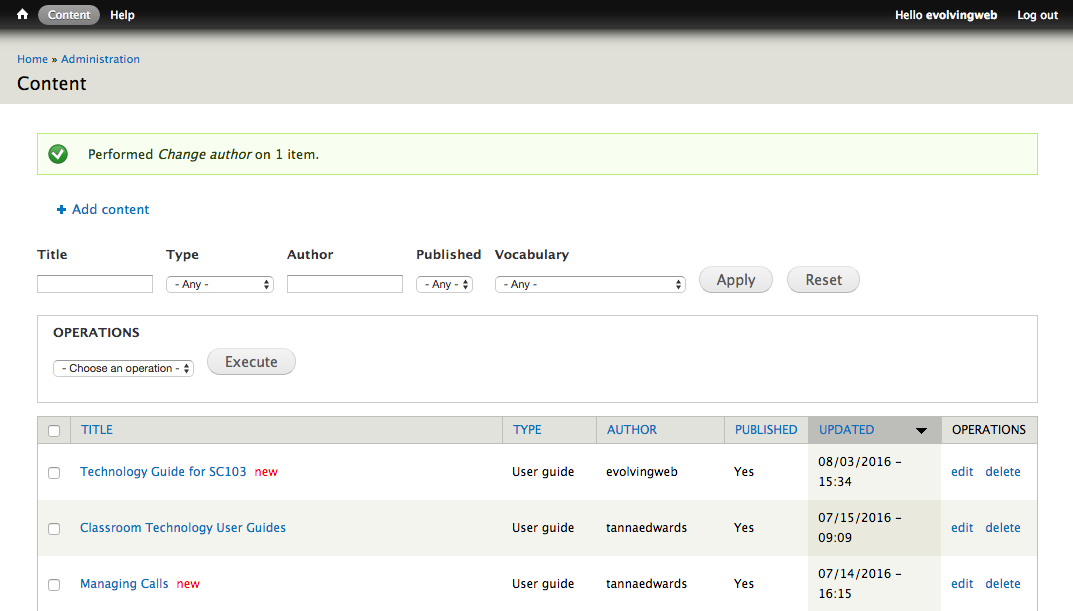
Managing Content
On the content overview page, you can also manage content in bulk as follows:
- Select one or more pieces of content by selecting the checkboxes on this page.
- In the Operations section, choose an option from the select box (e.g. Publish or Unpublish).
- Click Execute.
- You may be prompted for options (e.g. if you are changing the author, you must select the new author’s username).
- Click Next.
- You see a progress bar and then when the change is complete, a success message:
Here’s an overview of the different operations:
- Change author: change the user associated with the content.
- Delete: permanently deletes the content (Be careful not to delete content by accident. It’s safer to unpublish content instead)
- Change value: allow you to change any of the fields for the content (It’s usually easier to just edit the content).
- Stick (makes some content types appear at the top of the content listing, for example, at the top of a list of news even if the item is not the most recent)
- Unstick (removes the sticky status so the content doesn’t appear at the top of the list)
- Promote to front page
- Publish (makes the content visible to visitors of the site, note that content is not published by default)
- Demote from front page
- Unpublish (makes the content invisible to visitors of the site - users will see an Access Denied message instead)
Editing Content
- Click Edit next to a content item to make a change to it.
- Depending on the type of content, you’ll see a whole list of fields you can edit.
- The content type will appear in the title of the page. Each content type is used differently and has different fields you can edit. There are instructions below for editing each type of content.
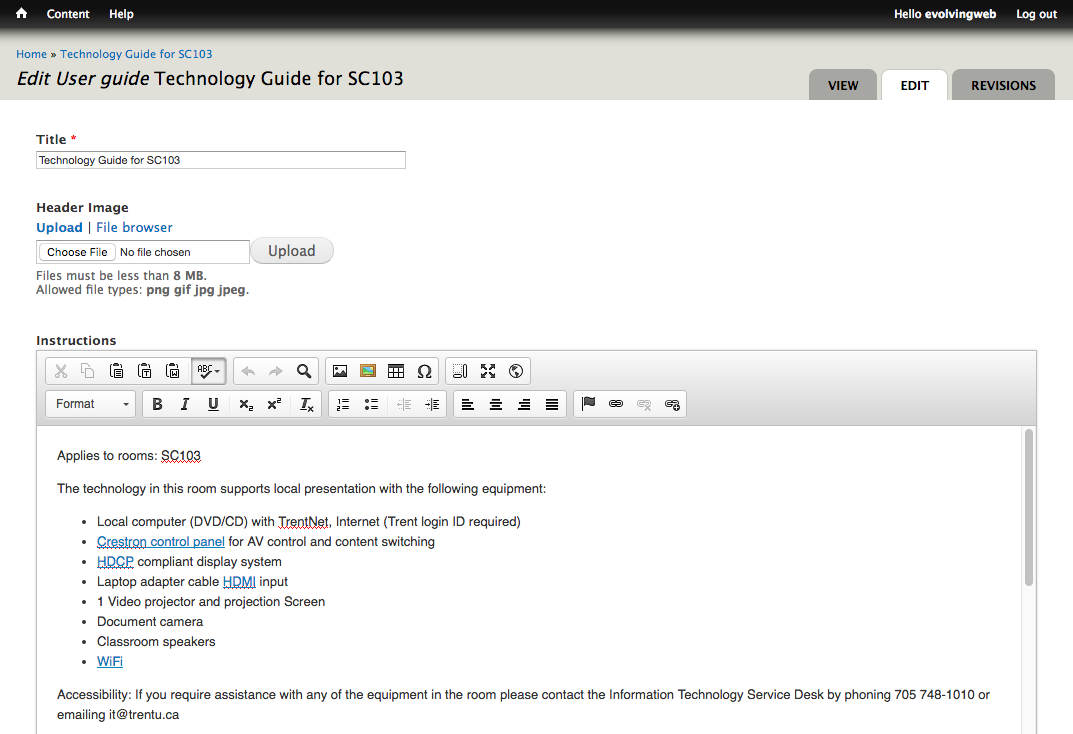
- When you’re done editing, you can save the changes or click Preview to give you an idea of what the content page will look like (this works best for stand-alone content types like Basic Pages and Programs).
- You should use the Revision Information section to track all changes to content. Write down what you changed when you edited the content. This will help other content editors understand what you did.

Adding Content
- To create a new piece of content, in the Admin Toolbar, hover over the Content link, then over the Add Content sub-link.
- Click on the type of content you wish to add.
- Depending on the content type you choose, the fields available and the way the content is used will vary.
Below you’ll find a description and instructions for specific content types. But first, here’s some general information about adding/editing content:
Body/Description Text
The content types on the site have a main text area (sometimes called the Body or Description field). It has a WYSIWYG editor you can use so you don’t have to write HTML.
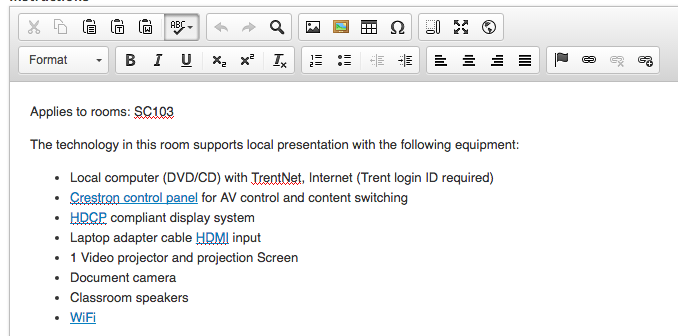
Pasting text
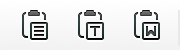
Click on the cilpboard buttons to paste text from an external source. Use the clipboard with a W when pasting text from Word or some other rich text editor. Use the cilpboard with a T to remove all formatting from your text.
Adding Images
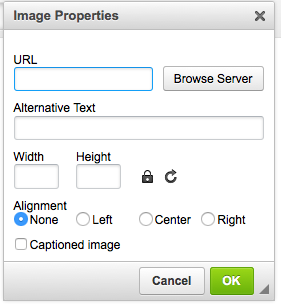
- Use the image buttons to insert an image into the page. The following popup interface will appear:
- Click Browse Server to choose the image.You'll see the following interface appear:
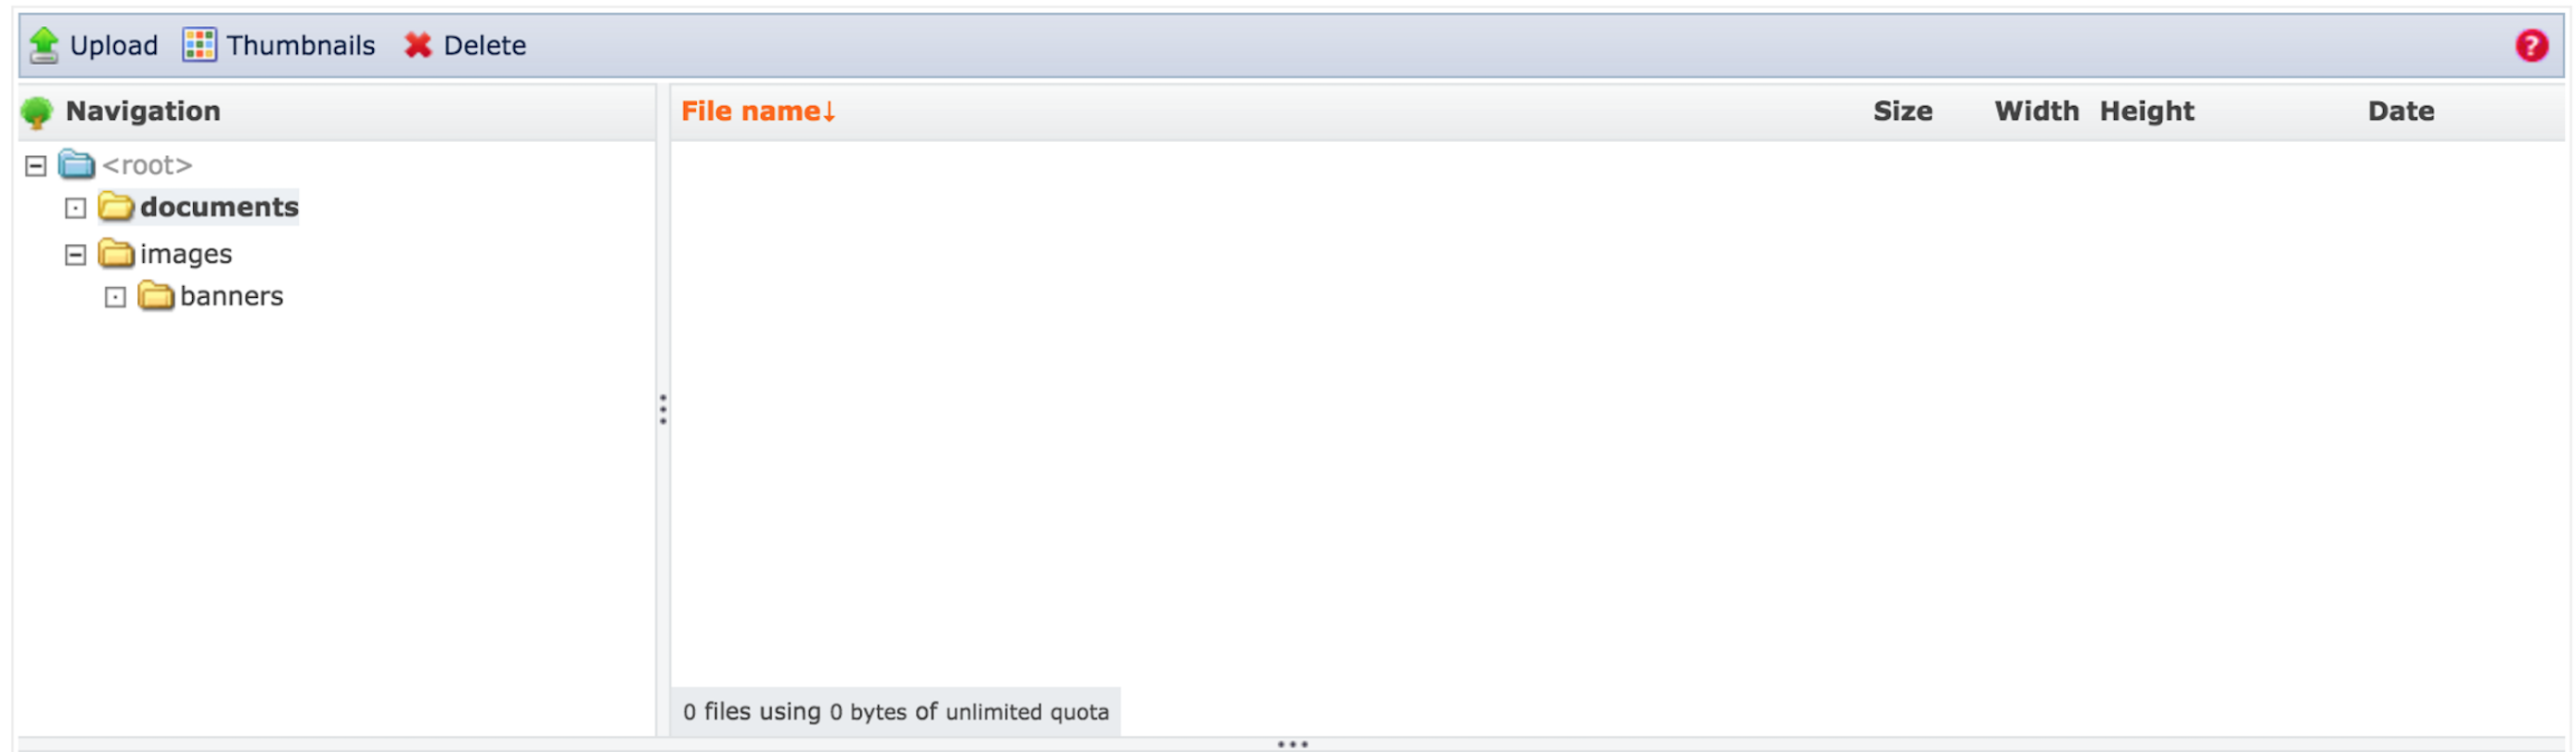
- Select an image already uploaded to the website. Or, alternatively, use the Upload link in the top left-hand corner to select an image to use from your computer.
- Once you have a file selected, click the Insert file link at the top of the popup.
- Back in the original popup interface, enter an Alternative Text to describe the image. You can also change the size of the image by changing the width and height fields.
- Select an Alignment to push the image to the left or right side of the page.
- Click OK to add the image to the text editor.
Creating text headings
To create a heading inside the editor, select the text and click on the Format button in the editor and select Heading 2, 3, 4, 5, 6 from the dropdown. You should use the Heading 2 first, use Heading 3 to creating a sub-section under a heading 2 and so on.

Text formatting
Use the bold, italic and underline icons to format text. You can also add add a subscript and superscript The Tx icon clears any formatting that’s been added to the text.

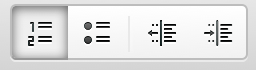
List Styling
Select a set of text and use the list icons to create a numbered or bulleted list. Use the arrows to indent sections of the list and create a nested list.
Text Alignment
By default, text is left-aligned, but you can choose to center, right-align, or justify text by selecting it and using the alignment buttons below:

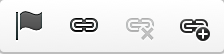
Links
To add a link, first select text to be linked. Choose the LinkIt button (the button on the far right with the + symbol).
This brings up the LinkIt popup interface. To create a link to an external website, enter the full URL directly in the Link URL field. Click Insert Link.
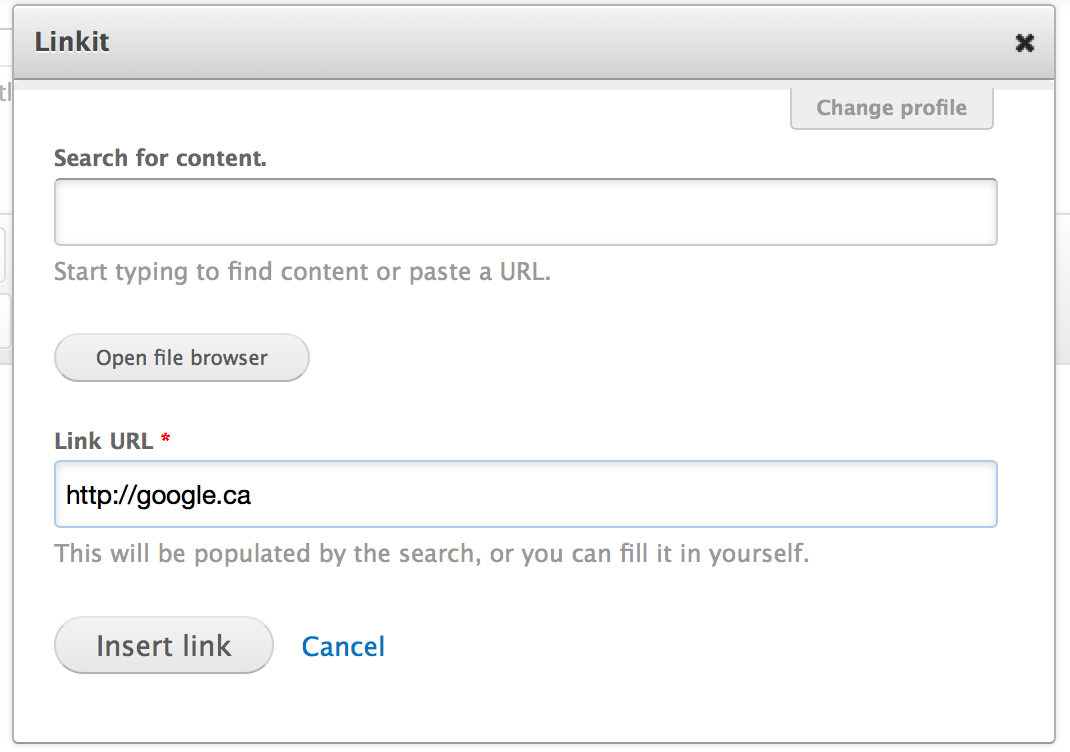
To create a link to an internal website, start typing the name of the page you want to link to in the Search for content field. Select the page and click Insert Link.

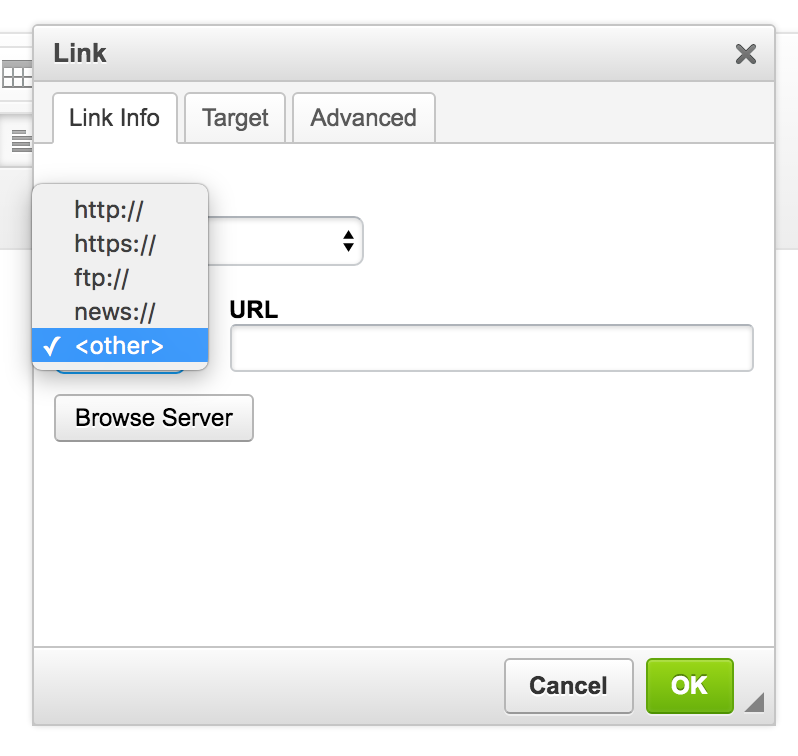
You can also add in relative link. Use the link button without the + symbol.
- Highlight the text you want to link and click the link button.
- Select other as the protocol.
- Enter a relative path as the URL. For example to link to the page https://www.trentu.ca/english/experience, enter /english/experience.
Videos
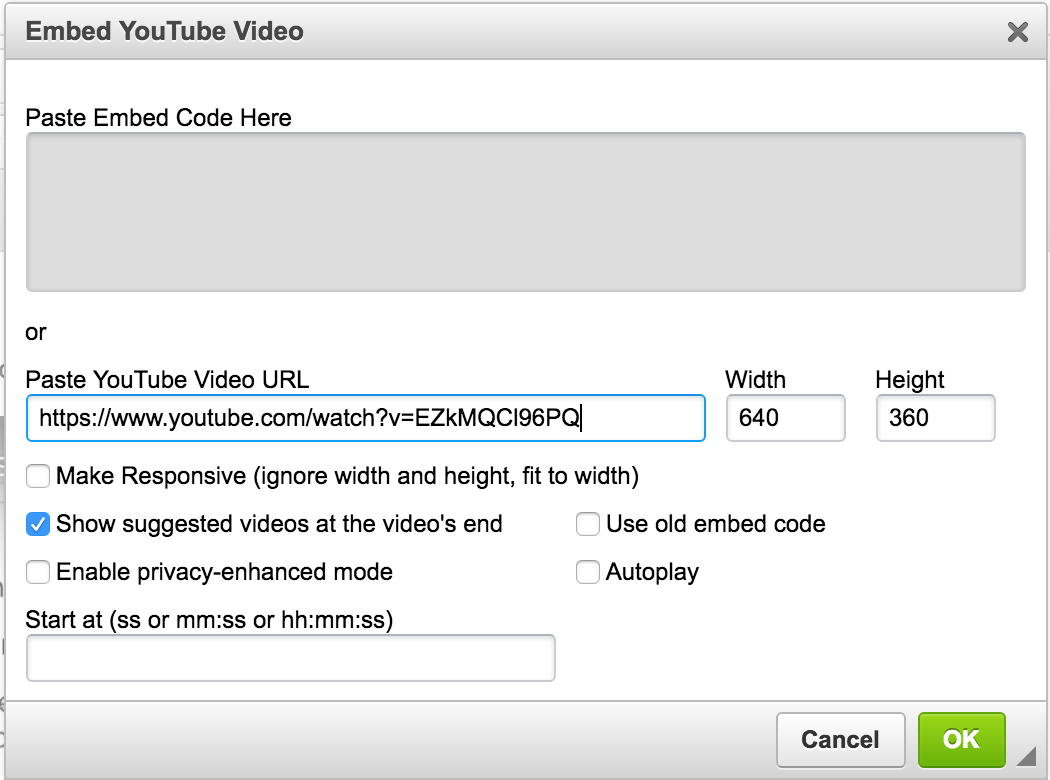
Videos on the website should be uploaded to YouTube first, and then added to the text of a page as follows:
- To insert a video, click on the YouTube icon in the editor, the right-most button at the top of the editor.
- This will bring up an popup interface that prompts you for the link or embed code to the video. The link option is recommended because it's more straight-forward.
- Paste the YouTube URL for the video into the Paste YouTube Video URL field. The URL should look similar to this, with a different code at the end: https://www.youtube.com/watch?v=EZkMQCl96PQ
- Click OK to add the video.
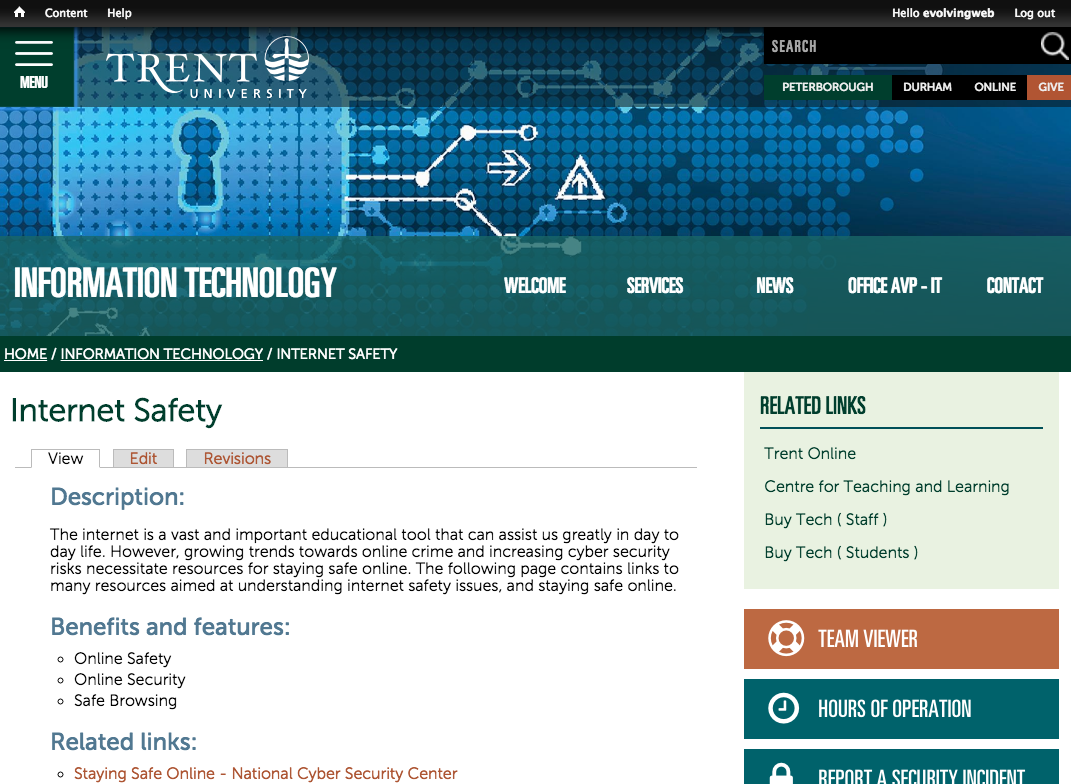
Header Image/Page Image
The header image and page image fields are used on several content types. These are used at the top of the page as a backdrop to the Trent logo and the menu. If you don’t upload an image for any given page, a default will be used. Disclaimer: Header images are typically created by marketing for quality control.
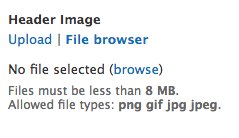
- Click Choose File to select a file to download from your computer.
- You should choose large .png or .jpg images (at least 1500px wide and 500px tall) so that they fill in the space provided. Smaller images will be enlarged to fill the space and will become pixelated.
- Then, click Upload to upload the file.
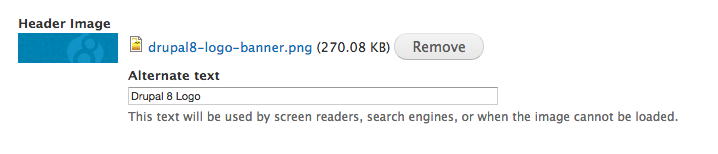
- Enter an Alternate text that describes the image you’ve uploaded. This will be used for screen readers and is required to make the website accessible. If you don’t fill in an Alternate text, an error will appear and you won’t be able to save the content.
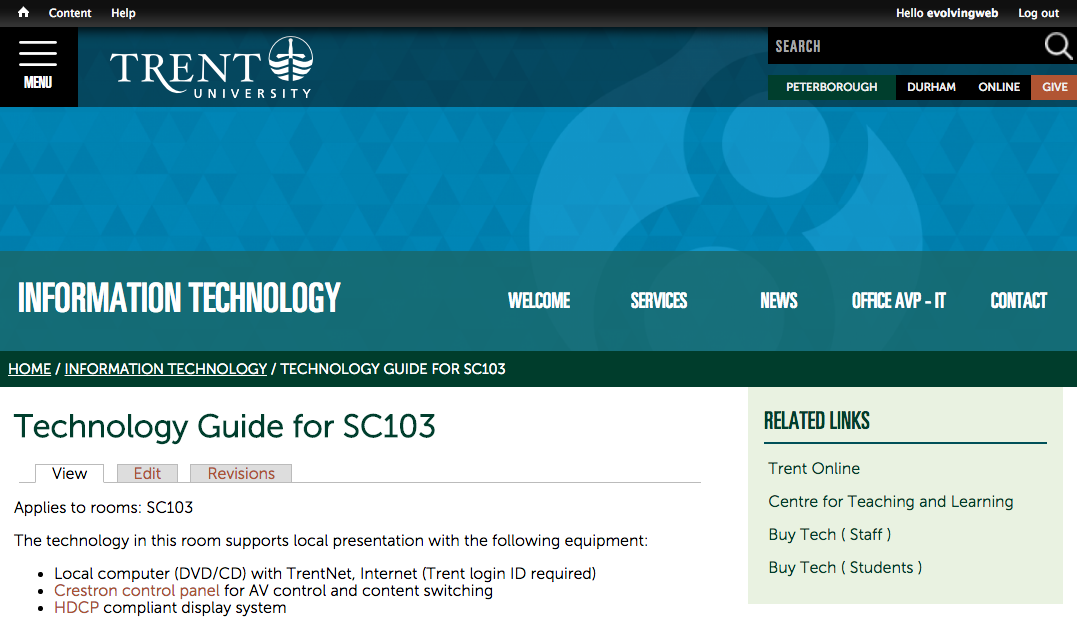
- The header/page image that you’ve uploaded will be displayed like this:
Re-using an Existing Image
- For image fields, if you want to re-use an image that’s already been uploaded to the website, you can click the File Browser link under the image field label:
- Now, click the browse link. A popup will appear to allow you to select existing images.
- Select the file that you wish to use.
- Click the Insert file link at the top of the popup to add your image.
- Enter an Alternate text.
- Save the settings.
Specific Content Types
Basic page
Basic pages are used for informational pages. They often appear in the menu. For example, an about us page, an informational page about awards and scholarships, or an informational page about the experience of studying English at Trent. Typically, you’ll create a basic page with just the standard fields (the Title and Body). You can also fill in additional fields as described below.
- The Subtitle is displayed below the title of the page. It’s displayed in a slightly smaller, blue font, like in this screenshot:
- Promo Title and Promo Image: These fields are only used if this page is listed as a ‘Highlighted Page’ on another landing page.
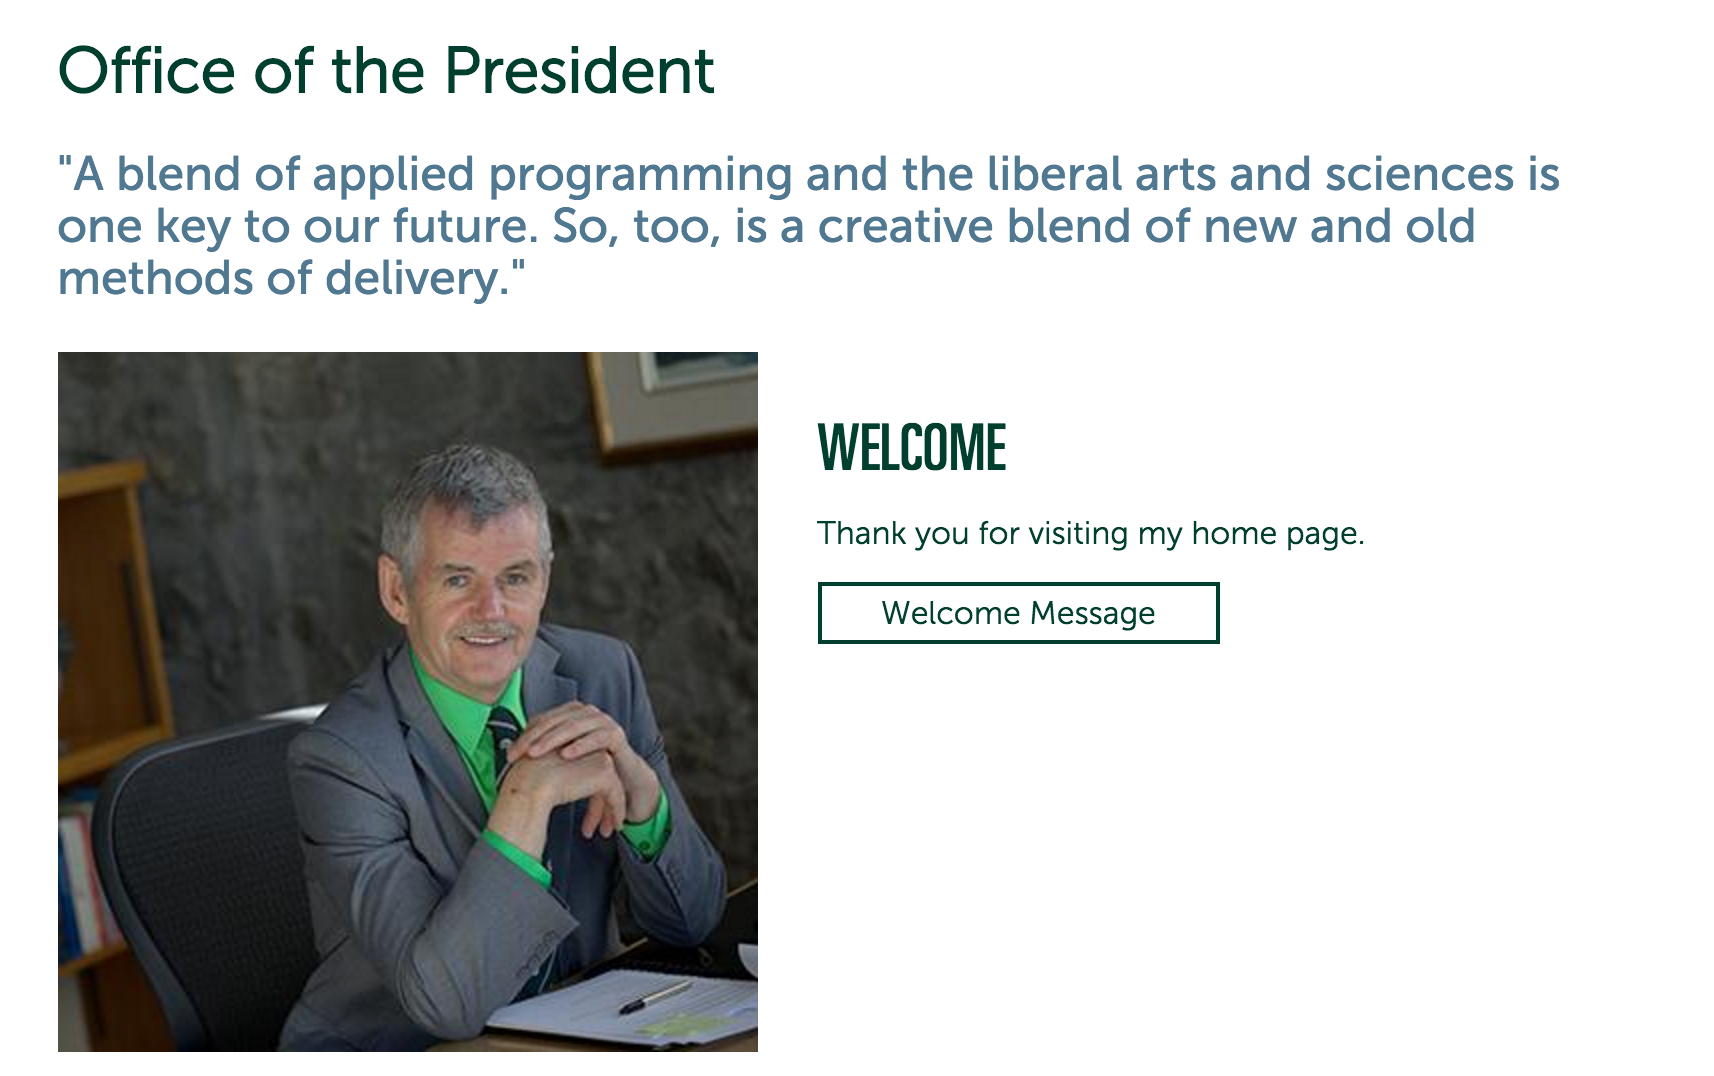
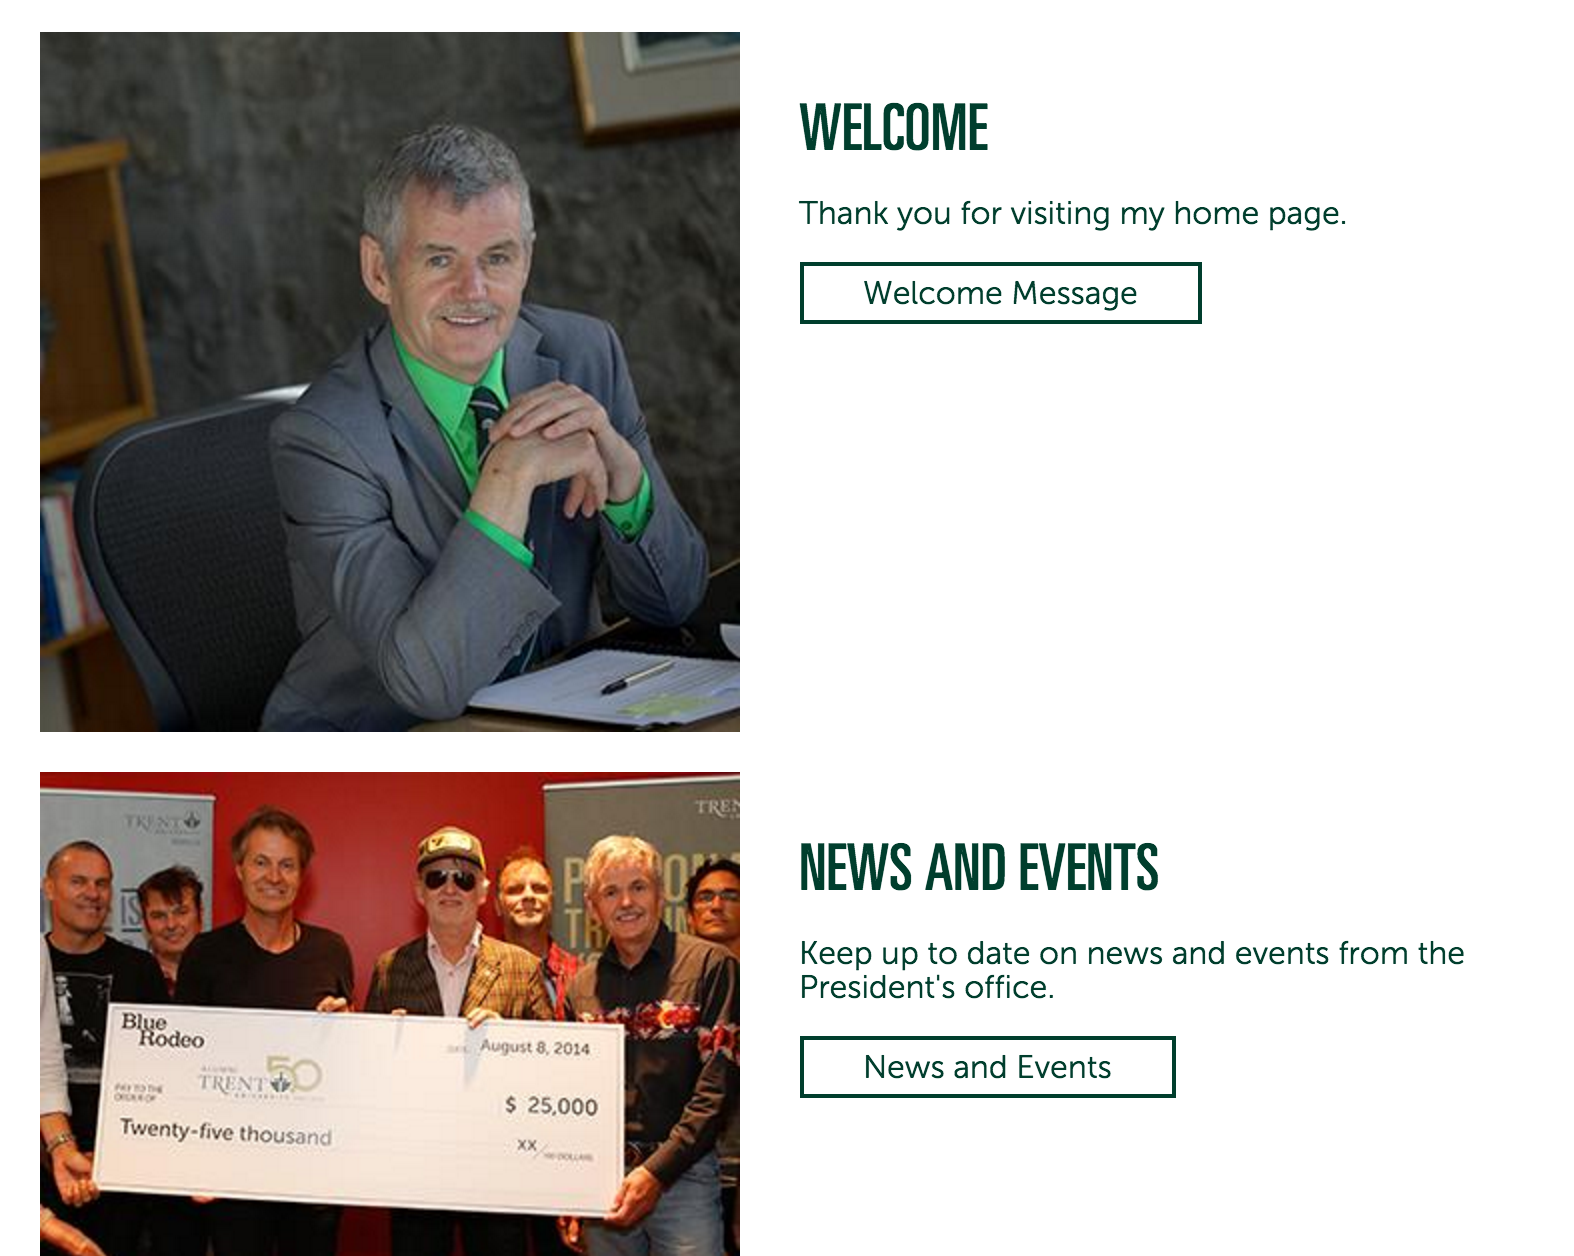
- Highlighted Pages: Add a list of pages that should be listed on this landing pages. The promo text/image for those pages will be used in this listing. For example, on the President’s site, the homepage has a list of highlighted pages that looks like this.
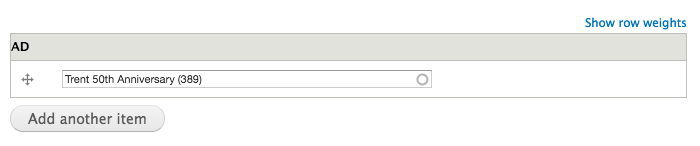
- Ad: You can specify a specific Ad that you want to display in the sidebar of this page.
- Start typing the name of the add into the autocomplete field.
- You’ll notice that there’s a number after the ad title, this is just an ID and won’t be displayed on the site.
- If no ads appear when you start typing, it could be because there are no ads on the site. In this case, go to Content > Add Content > Ad.
- Click Add another item to add multiple ads.
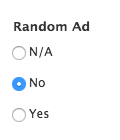
- Random Ad: You can choose to display a ‘Random Ad’ from the collection of ads on this website in the sidebar of this page. By default, no ad will be displayed.
- Contact: Start typing the contact’s name into the autocomplete field.
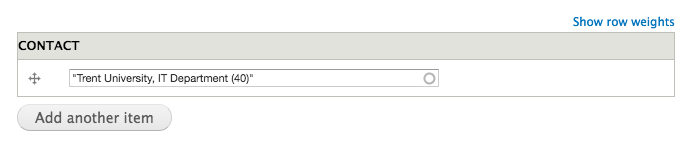
- You’ll notice that there’s a number after the ad title, this is just an ID and won’t be displayed on the site.
- If no ads appear when you start typing, it could be because there are no ads on the site. In this case, go to Content > Add Content > Contact.
- Click Add another item to add multiple contacts.
- Testimonial: Select the name of the testimonial you’d like to use (see instructions below for how to create a testimonial).
- Sidebar Links: Add links to the sidebar of the page using this field.
- Custom Sidebar Links: Custom sidebar links include an icon as well, which will appear beside the link in the sidebar.